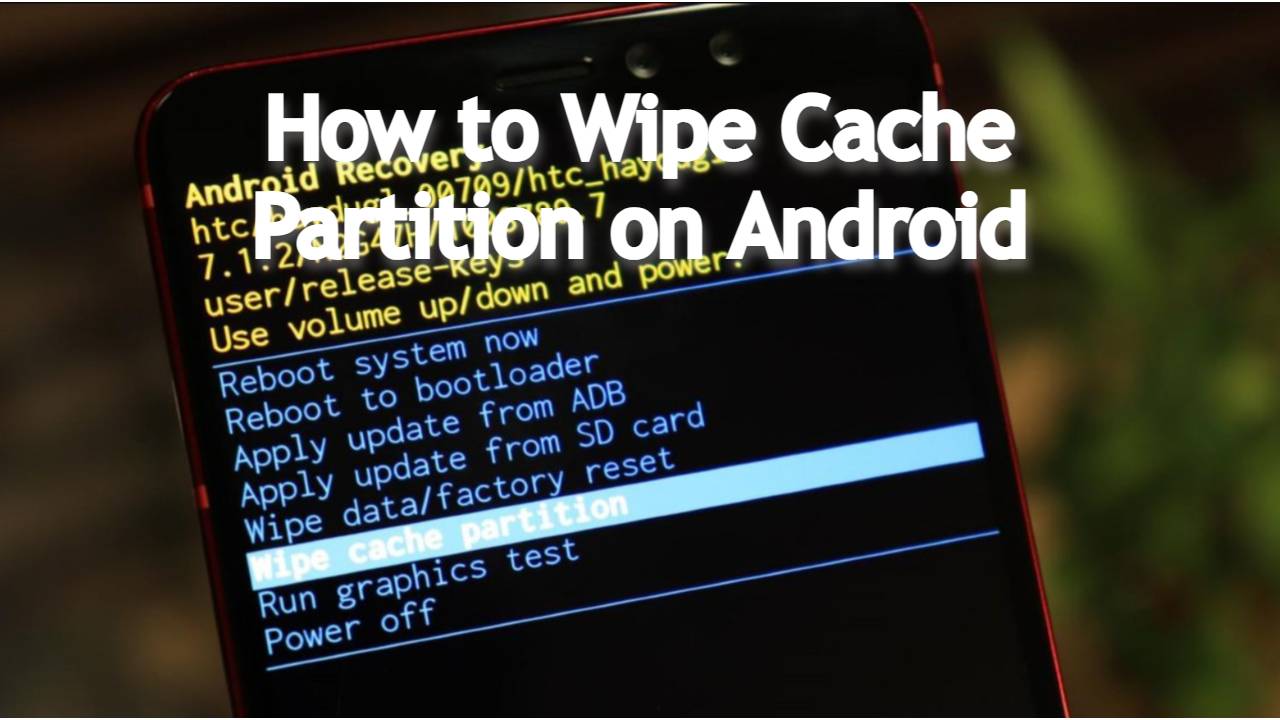
Times before nougat android system update files were store in cache partition. As time passed by, android files storage has moved away and the method for installing has changed. However, few older devices which still run older versions store temporary files used for things like OS updates in a cache partition.
There comes a great need to wipe cache partition of the device for better performance. The android system cache is entirely different from app cache data stored by apps confined to that particular app. It’s always a good idea to clear android system cache as the set of temporary files creates a great burden on loading.
Essentially, older version OS used these android cache files to perform tasks efficiently be it even for installing updates. So, the android system uses these files instantly instead of downloading them from somewhere every time they’re needed. Yet, it is needed to clear android system cache to reduce the load on the system as it will rebuild the cache again over time.

Discussing the present scenario, the modern android smartphones doesn’t come with a system cache now. But, there are many users who still own devices that have android cache partition. Another important thing to mention here is this android system cache partition doesn’t take up any user-accessible space. Here we detailed you how to wipe cache partition for enhanced performance on your phone.
How to Wipe Cache Partition:
Before we explain you how to wipe cache partition, it’s a simple operation to remove junk files from the device. Nevertheless, the system will be refreshed and your device will perform quicker when you wipe android cache partition. Also, it is definitely a safe option as it won’t delete your personal files and affects only temporary cache files. You can clear cache partition within the android phone settings or through recovery settings.
Know what is ant radio service on Android
Wipe Cache Partition from Recovery Settings:
This is standard and working method to wipe cache partition on android phone. Follow the below steps and clear android cache partition on your phone.
- Press the power button and select ‘Switch OFF’
- Now hold the ‘Home’ button and ‘Volume UP’ button simultaneously and press and hold the ‘Power’ button along side
- Release only the ‘Power’ key when the manufacturers logo screen appears, release only the ‘Power’ key
- Now release all the keys when the Android logo shown on the screen
- ‘Installing System Update’ appears before showing the Android Recovery Options
- Now press the ‘Volume down’ button and highlight ‘Wipe Cache Partition’ option
- Press the ‘Power’ button and wait for the device to clear the cache partition
- Now navigate and highlight ‘Reboot System Now’ when the process is complete
- Press ‘Power’ key and restart the device
How to Empty Trash on Android Phone
Wipe Cache Partition from Phone settings:
You can also clear android system cache from your phone settings. Below steps explain you how to wipe android cache partition from your phone settings.
- Open ‘Settings’ option from the menu
- Select ‘Storage’ and then on ‘Internal Storage’
- Check if there is an option for ‘Cached Data’, click on it to open it
- Click ‘Delete Cached Data’ option and then tap ’Yes’ on the prompt
- If ‘Cached Data’ option isn’t available, check if there is ‘Smart Cleaning’ or ‘Free Up Space’ option
- Click ‘Temporary & Raw Files’ option and then tap ‘Delete’
Though this process might doesn’t clear up much space and provide you storage on your device, it enhances phone performance. Dominantly, these operations clear android system cache on your device resulting in a quicker and refreshed performance.